


Introduction to DIY Wall Crack Repair
Cracks in walls are a common issue that many homeowners face. They can be caused by a variety of factors, including settling foundations, temperature fluctuations, and moisture. While some cracks are purely cosmetic, others can indicate more serious structural problems. Regardless of the cause, addressing these imperfections is essential for maintaining the aesthetic and structural integrity of your home. Fortunately, repairing wall cracks doesn’t have to be a costly endeavor. With some basic tools and materials, you can tackle these repairs yourself, saving money and gaining the satisfaction of a job well done.
Understanding Different Types of Wall Cracks
Before diving into repair methods, it’s crucial to understand the different types of wall cracks you might encounter. This knowledge will help you choose the most appropriate repair technique. Here are some common types:
- Hairline Cracks: These are thin cracks that are often purely cosmetic. They typically appear in plaster or drywall and are caused by minor settling or temperature changes.
- Vertical Cracks: Often found in foundation walls, vertical cracks can be a result of settling or shrinkage. They are usually less concerning than horizontal cracks.
- Horizontal Cracks: These can indicate serious structural issues, particularly in foundation walls. They may be caused by soil pressure or water damage.
- Diagonal Cracks: These cracks can occur when a building settles unevenly. They may require more extensive repairs if they widen over time.
Once you identify the type of crack, you can proceed with the most suitable repair method.
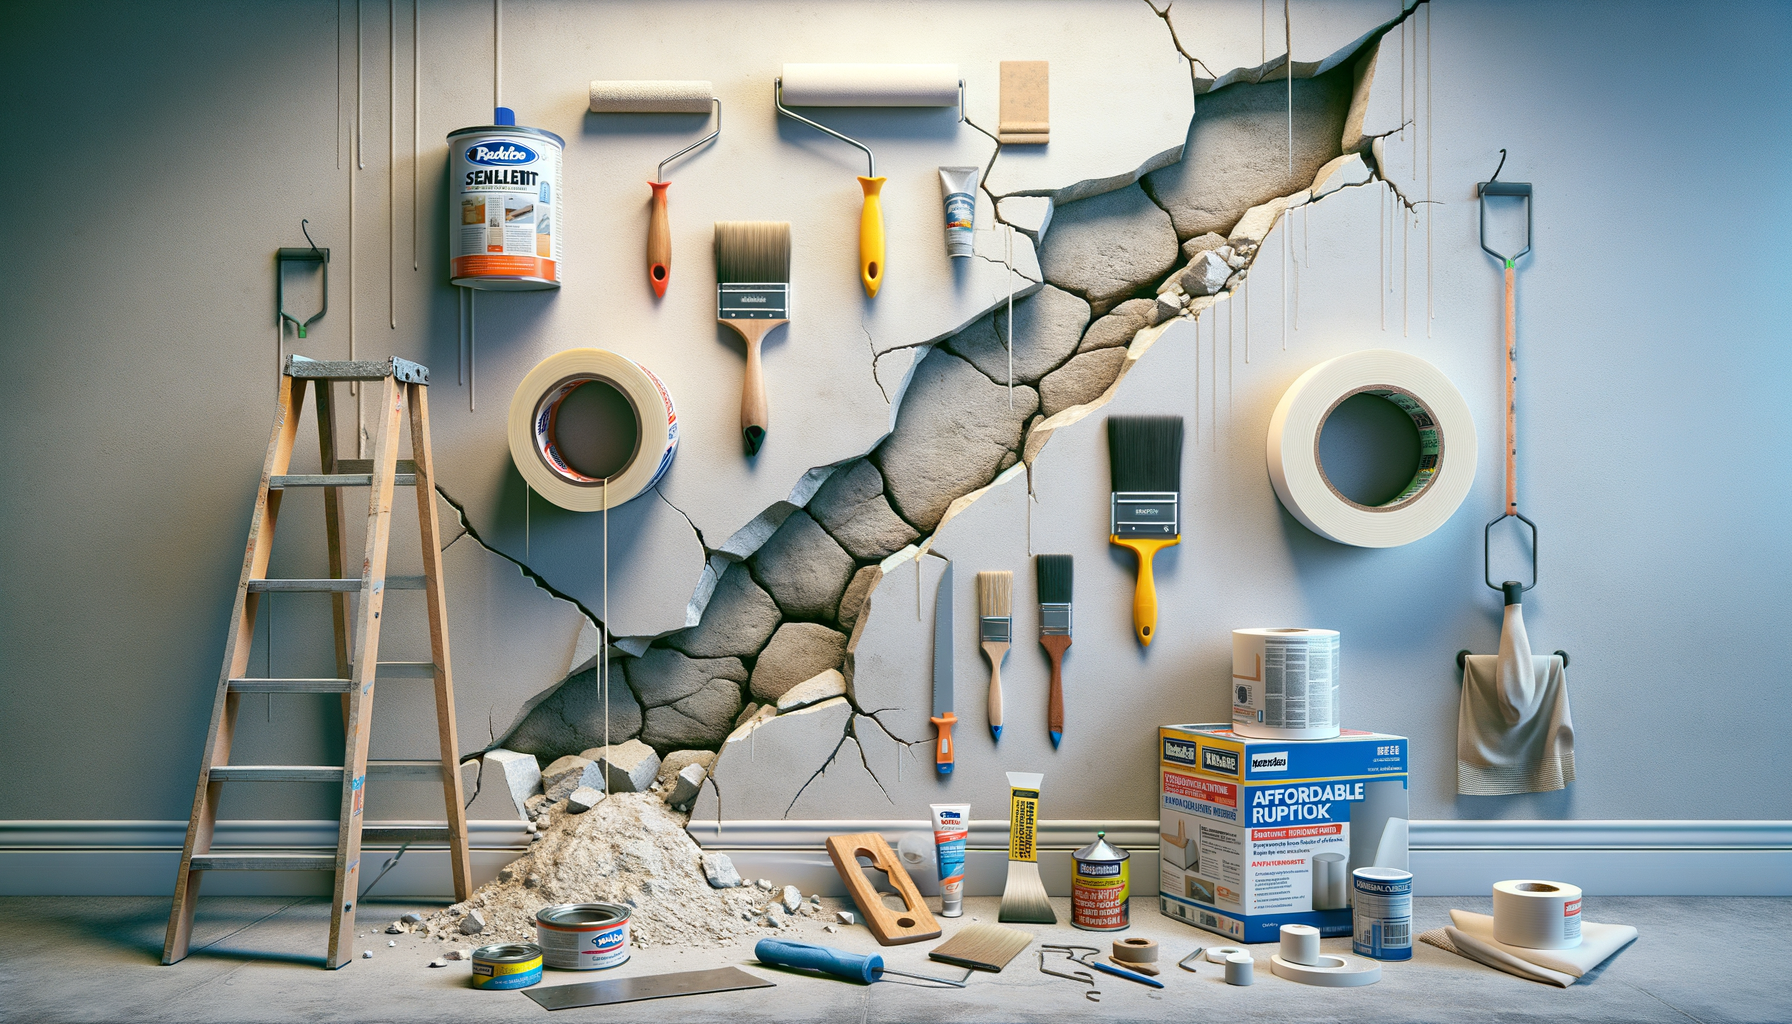
Essential Tools and Materials for Wall Crack Repair
To successfully repair wall cracks, you’ll need a few basic tools and materials. Here’s a list to get you started:
- Putty Knife: A versatile tool for applying and smoothing filler materials.
- Sandpaper: Used to smooth the surface after applying filler.
- Filler Material: Depending on the crack, you might use spackling paste, joint compound, or a specialized crack filler.
- Paint: To match the repaired area with the rest of the wall.
- Primer: Ensures better adhesion of paint to the repaired surface.
- Caulking Gun: Useful for applying sealant in larger cracks.
Having these tools on hand will make the repair process more efficient and effective.
Step-by-Step Guide to DIY Wall Crack Repair
Now that you’re equipped with the necessary tools and knowledge, let’s explore some effective DIY wall crack repair methods:
1. Hairline Cracks: For minor cracks, clean the area and apply a thin layer of spackling paste using a putty knife. Smooth it out and let it dry. Sand the area lightly before painting.
2. Vertical Cracks: For larger vertical cracks, use a joint compound. Apply it with a putty knife, feathering the edges. Once dry, sand and paint the area.
3. Horizontal Cracks: These may require professional assessment, but you can temporarily seal them using epoxy or polyurethane injection kits. Follow the manufacturer’s instructions for best results.
4. Diagonal Cracks: Similar to vertical cracks, use a joint compound. However, if the crack is widening, consult a professional.
5. Plaster Cracks: For cracks in plaster walls, use a patching plaster. Apply it in layers, allowing each to dry before adding the next. Sand and paint once the final layer is dry.
These methods provide affordable solutions for most wall cracks, allowing you to maintain your home’s appearance and value.
Conclusion: Maintaining Your Walls
Repairing wall cracks is an essential part of home maintenance. By addressing these issues promptly, you can prevent further damage and maintain your home’s value. With the right tools and techniques, DIY wall crack repair is a feasible and cost-effective task for any homeowner. Remember to assess the type and severity of the crack before choosing a repair method. For serious structural issues, always consult a professional. With these tips, you can keep your walls looking flawless and your home safe and sound.

