


Understanding Different Types of Cracks
Before jumping into any crack repair, it’s essential to understand the type of crack you’re dealing with. Not all cracks are created equal—some are superficial, while others could indicate deeper structural concerns. Knowing the difference can save you time, money, and unnecessary effort. Common types of cracks include hairline cracks, settlement cracks, and expansion cracks. Hairline cracks are usually cosmetic and can be easily repaired with surface fillers. Settlement cracks, often found in walls and floors, result from the house settling over time. Expansion cracks may occur due to temperature changes and material shifts.
Look for signs such as width, length, and location. If the crack is wider than 1/4 inch or appears to grow over time, it may require professional evaluation. For smaller, static cracks, DIY methods are often effective and safe.
Gathering the Right Materials
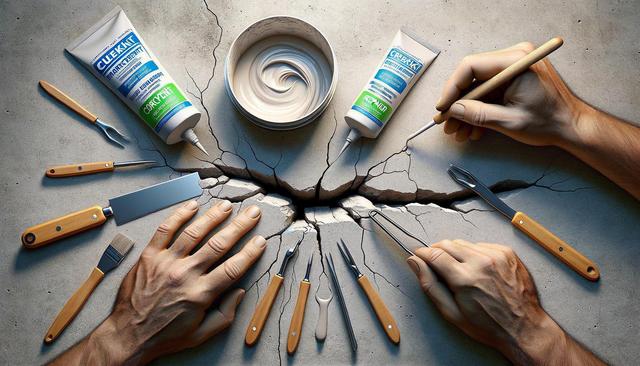
One of the advantages of DIY crack repair is that most materials needed are readily available at home improvement stores. Choosing the right product is crucial for a lasting fix. Here’s a quick list of commonly used materials:
- Crack filler or patching compound
- Caulking gun (for sealants)
- Putty knife or trowel
- Sandpaper or sanding block
- Paint or wall finish (for touch-up)
For wall crack repair, pre-mixed wall patch kits can be very useful. For floor cracks, consider using concrete repair sealants or epoxy compounds, which are designed to bond well with masonry. Always read the labels and choose products suited to your specific surface—whether drywall, plaster, or concrete.
Step-by-Step Repair Techniques
Once you’ve identified the crack and gathered your materials, it’s time to start the repair process. There are three universal steps to follow, regardless of the crack type:
- Clean the Area: Use a brush or vacuum to remove dust, debris, or loose material from the crack.
- Apply the Filler: For wall cracks, use a putty knife to press the filler into the crack. For floor cracks, apply the sealant with a caulking gun and smooth it out with a trowel.
- Finish and Blend: Once the repair dries, sand it down for a smooth finish and repaint the area to match the surrounding surface.
Following these steps will help you avoid common mistakes like overfilling or under-sanding, which can make the repair visible or less durable.
Preventing Future Cracks
Preventing cracks is just as important as fixing them. Regular maintenance and addressing underlying causes can extend the lifespan of your repairs. Here are some preventative measures to consider:
- Ensure proper drainage around the foundation to avoid soil movement
- Use expansion joints in concrete to accommodate temperature changes
- Control indoor humidity levels to prevent material shrinkage or swelling
- Inspect your home seasonally for early signs of damage
These steps can help reduce the frequency and severity of cracks in both walls and floors. Prevention reduces long-term costs and ensures your home remains structurally sound.
When to Call a Professional
While DIY crack repair can be effective for minor issues, there are situations where professional help is advisable. Structural cracks, persistent water damage, or cracks accompanied by uneven floors or sticking doors may indicate more serious problems. If you notice any of the following, it’s best to consult a qualified contractor:
- Cracks wider than 1/4 inch that continue to grow
- Cracks that appear in multiple locations at once
- Signs of mold or moisture seepage
- Visible shifting in walls or floors
Knowing your limits is key to maintaining home safety while still benefiting from DIY cost savings where appropriate.
Conclusion: Empower Yourself with DIY Know-How
DIY crack repair is a practical and budget-friendly solution for many homeowners. By learning how to identify, treat, and prevent common types of cracks, you can save up to 80% compared to hiring professionals. The key is using the right materials, following proper techniques, and recognizing when a crack needs expert evaluation. With a bit of time and care, your home can look and feel solid again—without the hefty price tag.